Install Channel: LINE
Let's start using the Programmable Conversations by learning how to install a channel. In this quickstart, you'll learn how to set up LINE.
Step 1: Go to the channels directory in your Dashboard
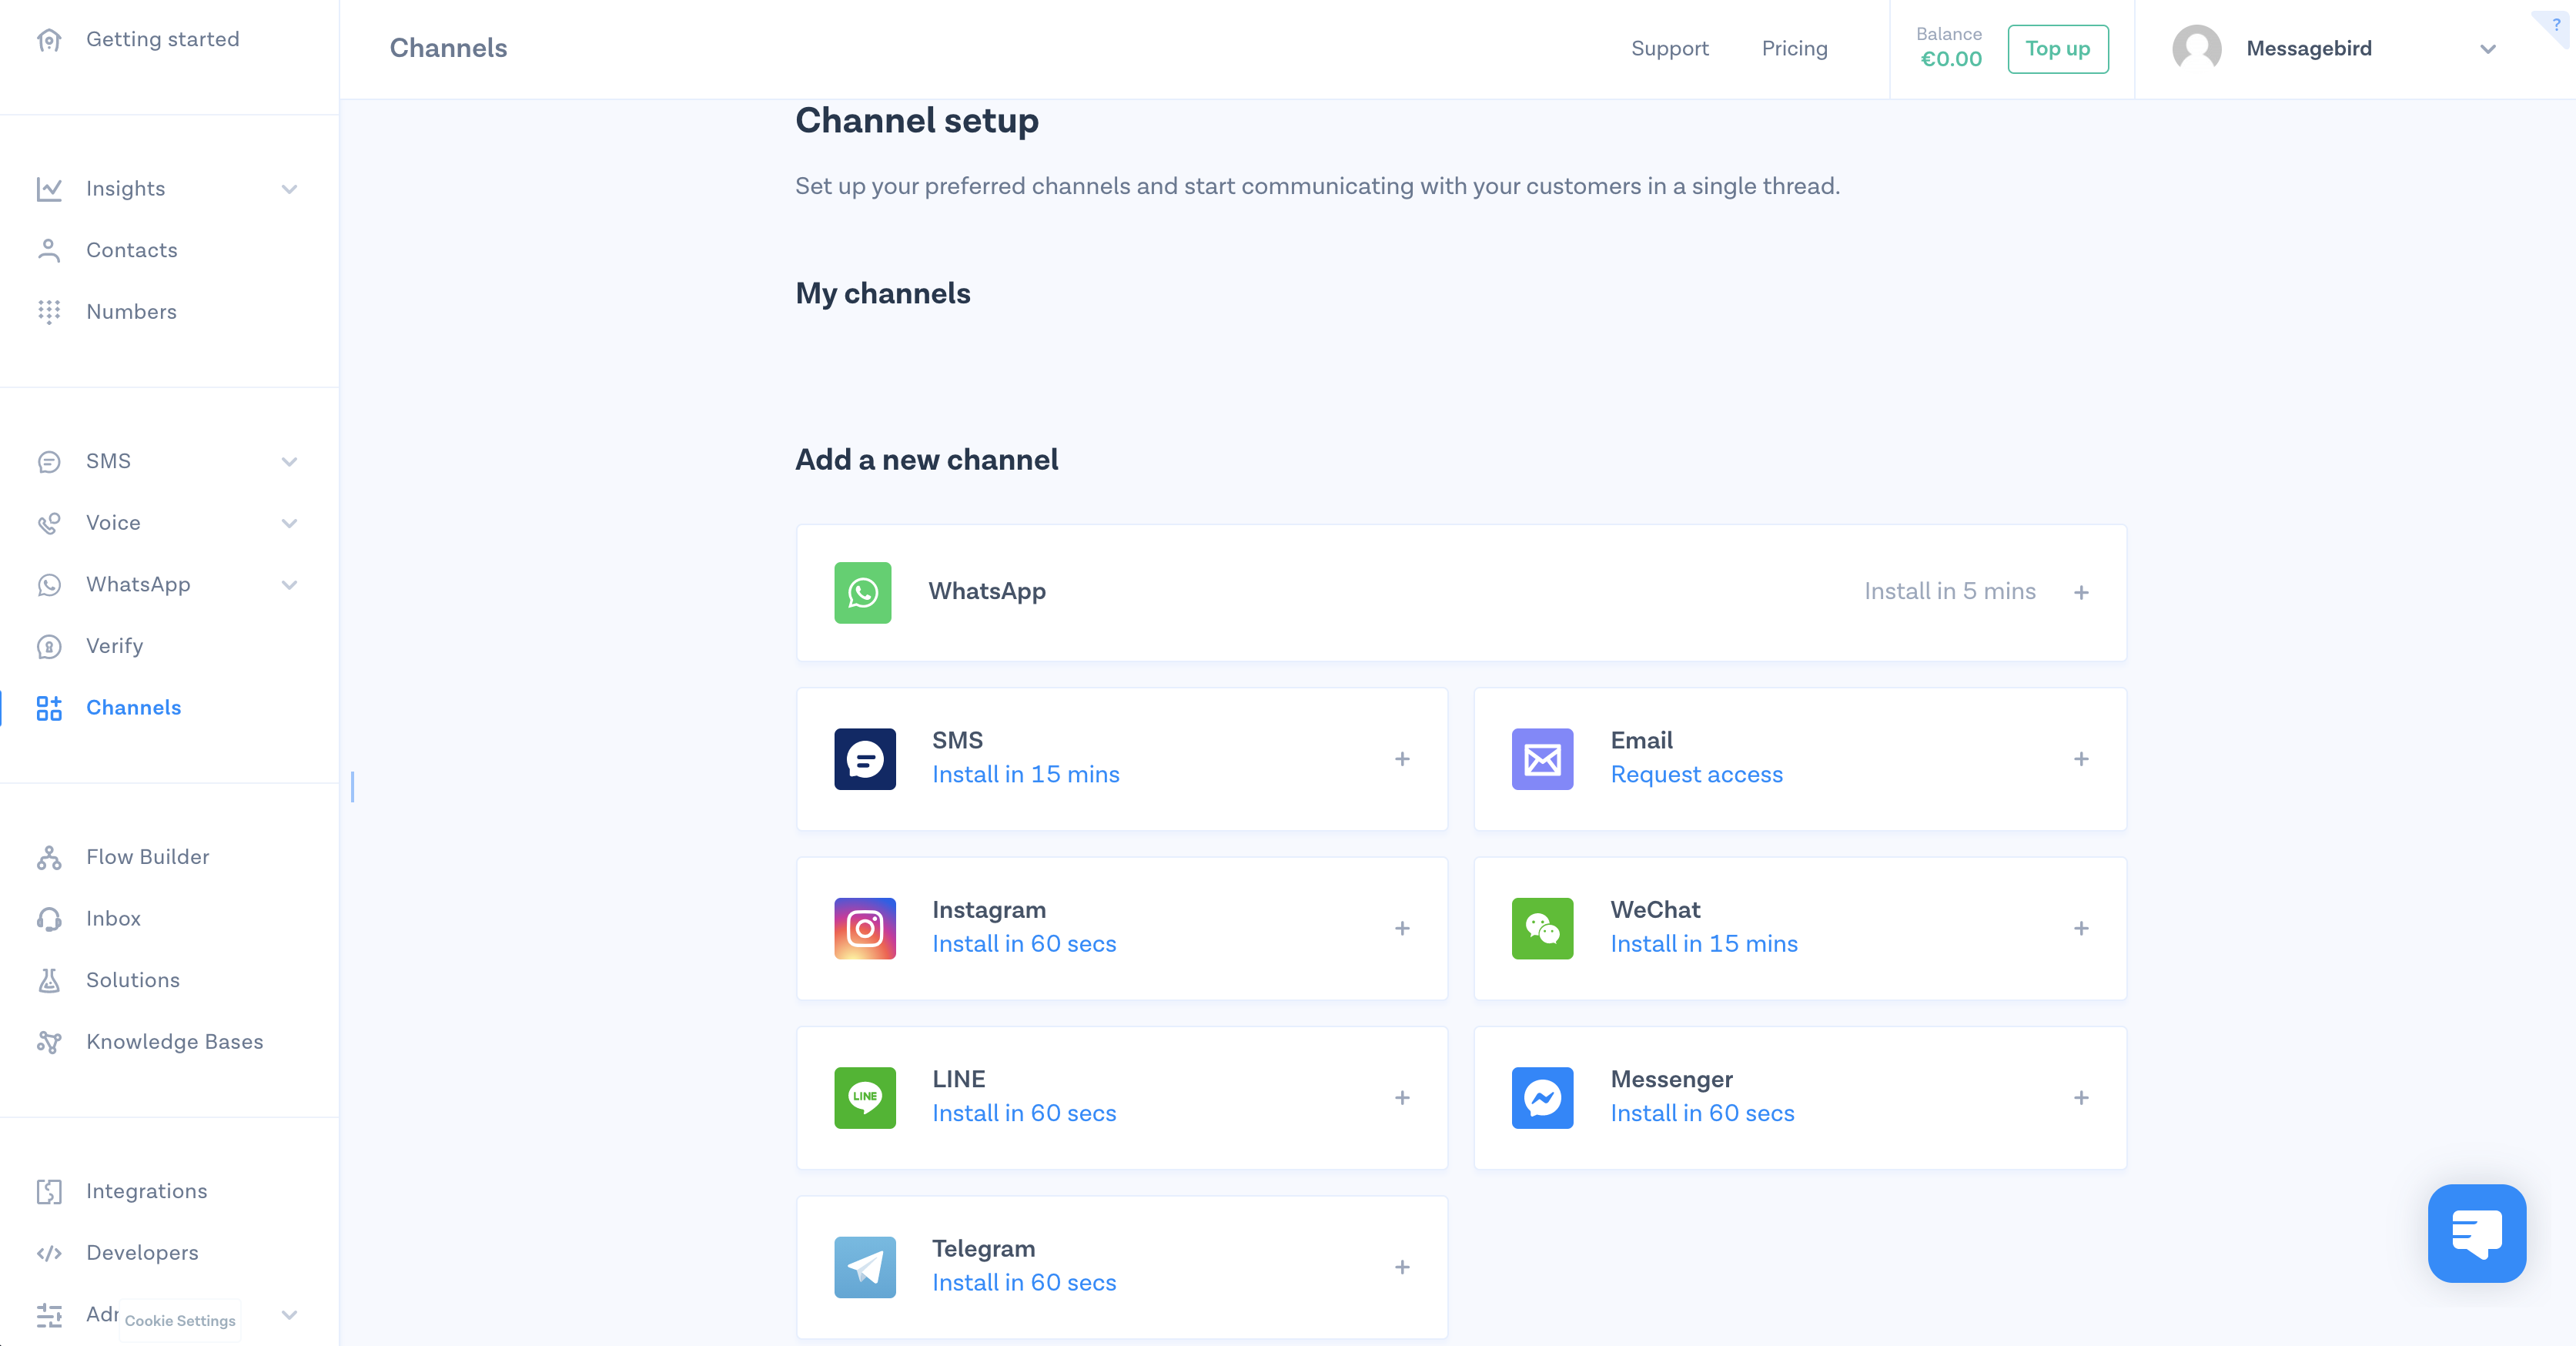
Go to 'Channels' in the sidebar of your MessageBird Dashboard. Then click on Add channel under LINE.
Step 2: Give your channel a name
Name your channel, make sure it's easily recognizable for yourself and your team. Don't worry, this will only be used internally.
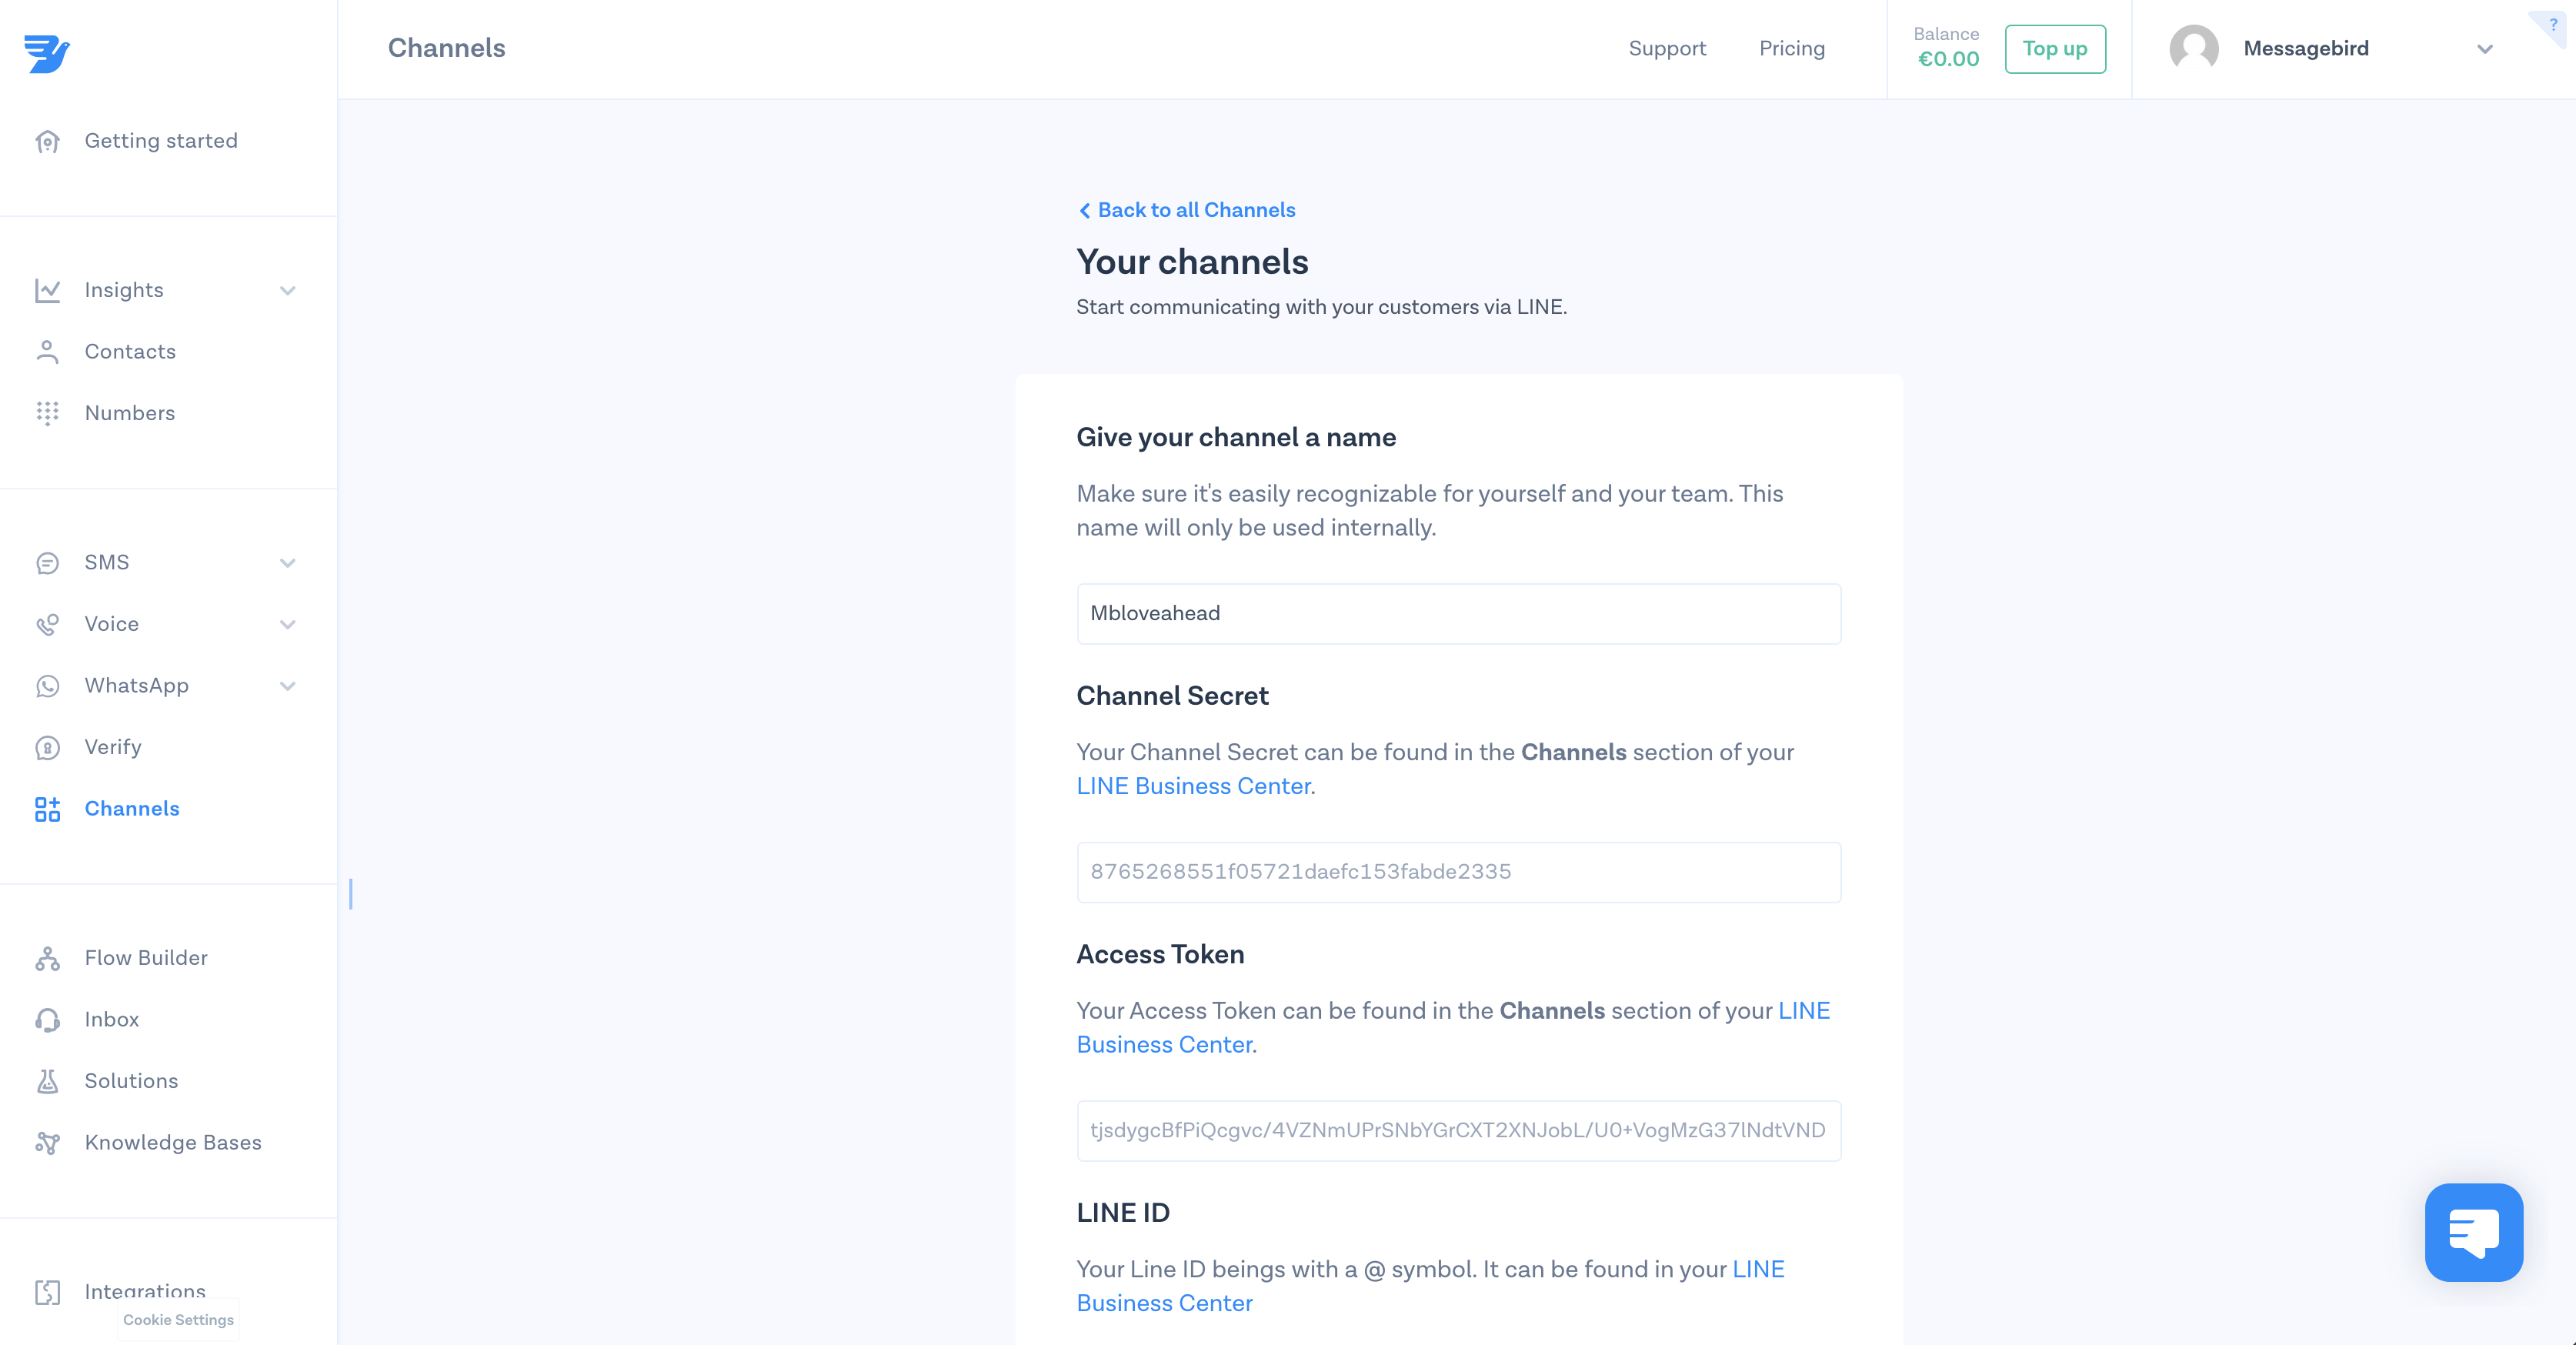
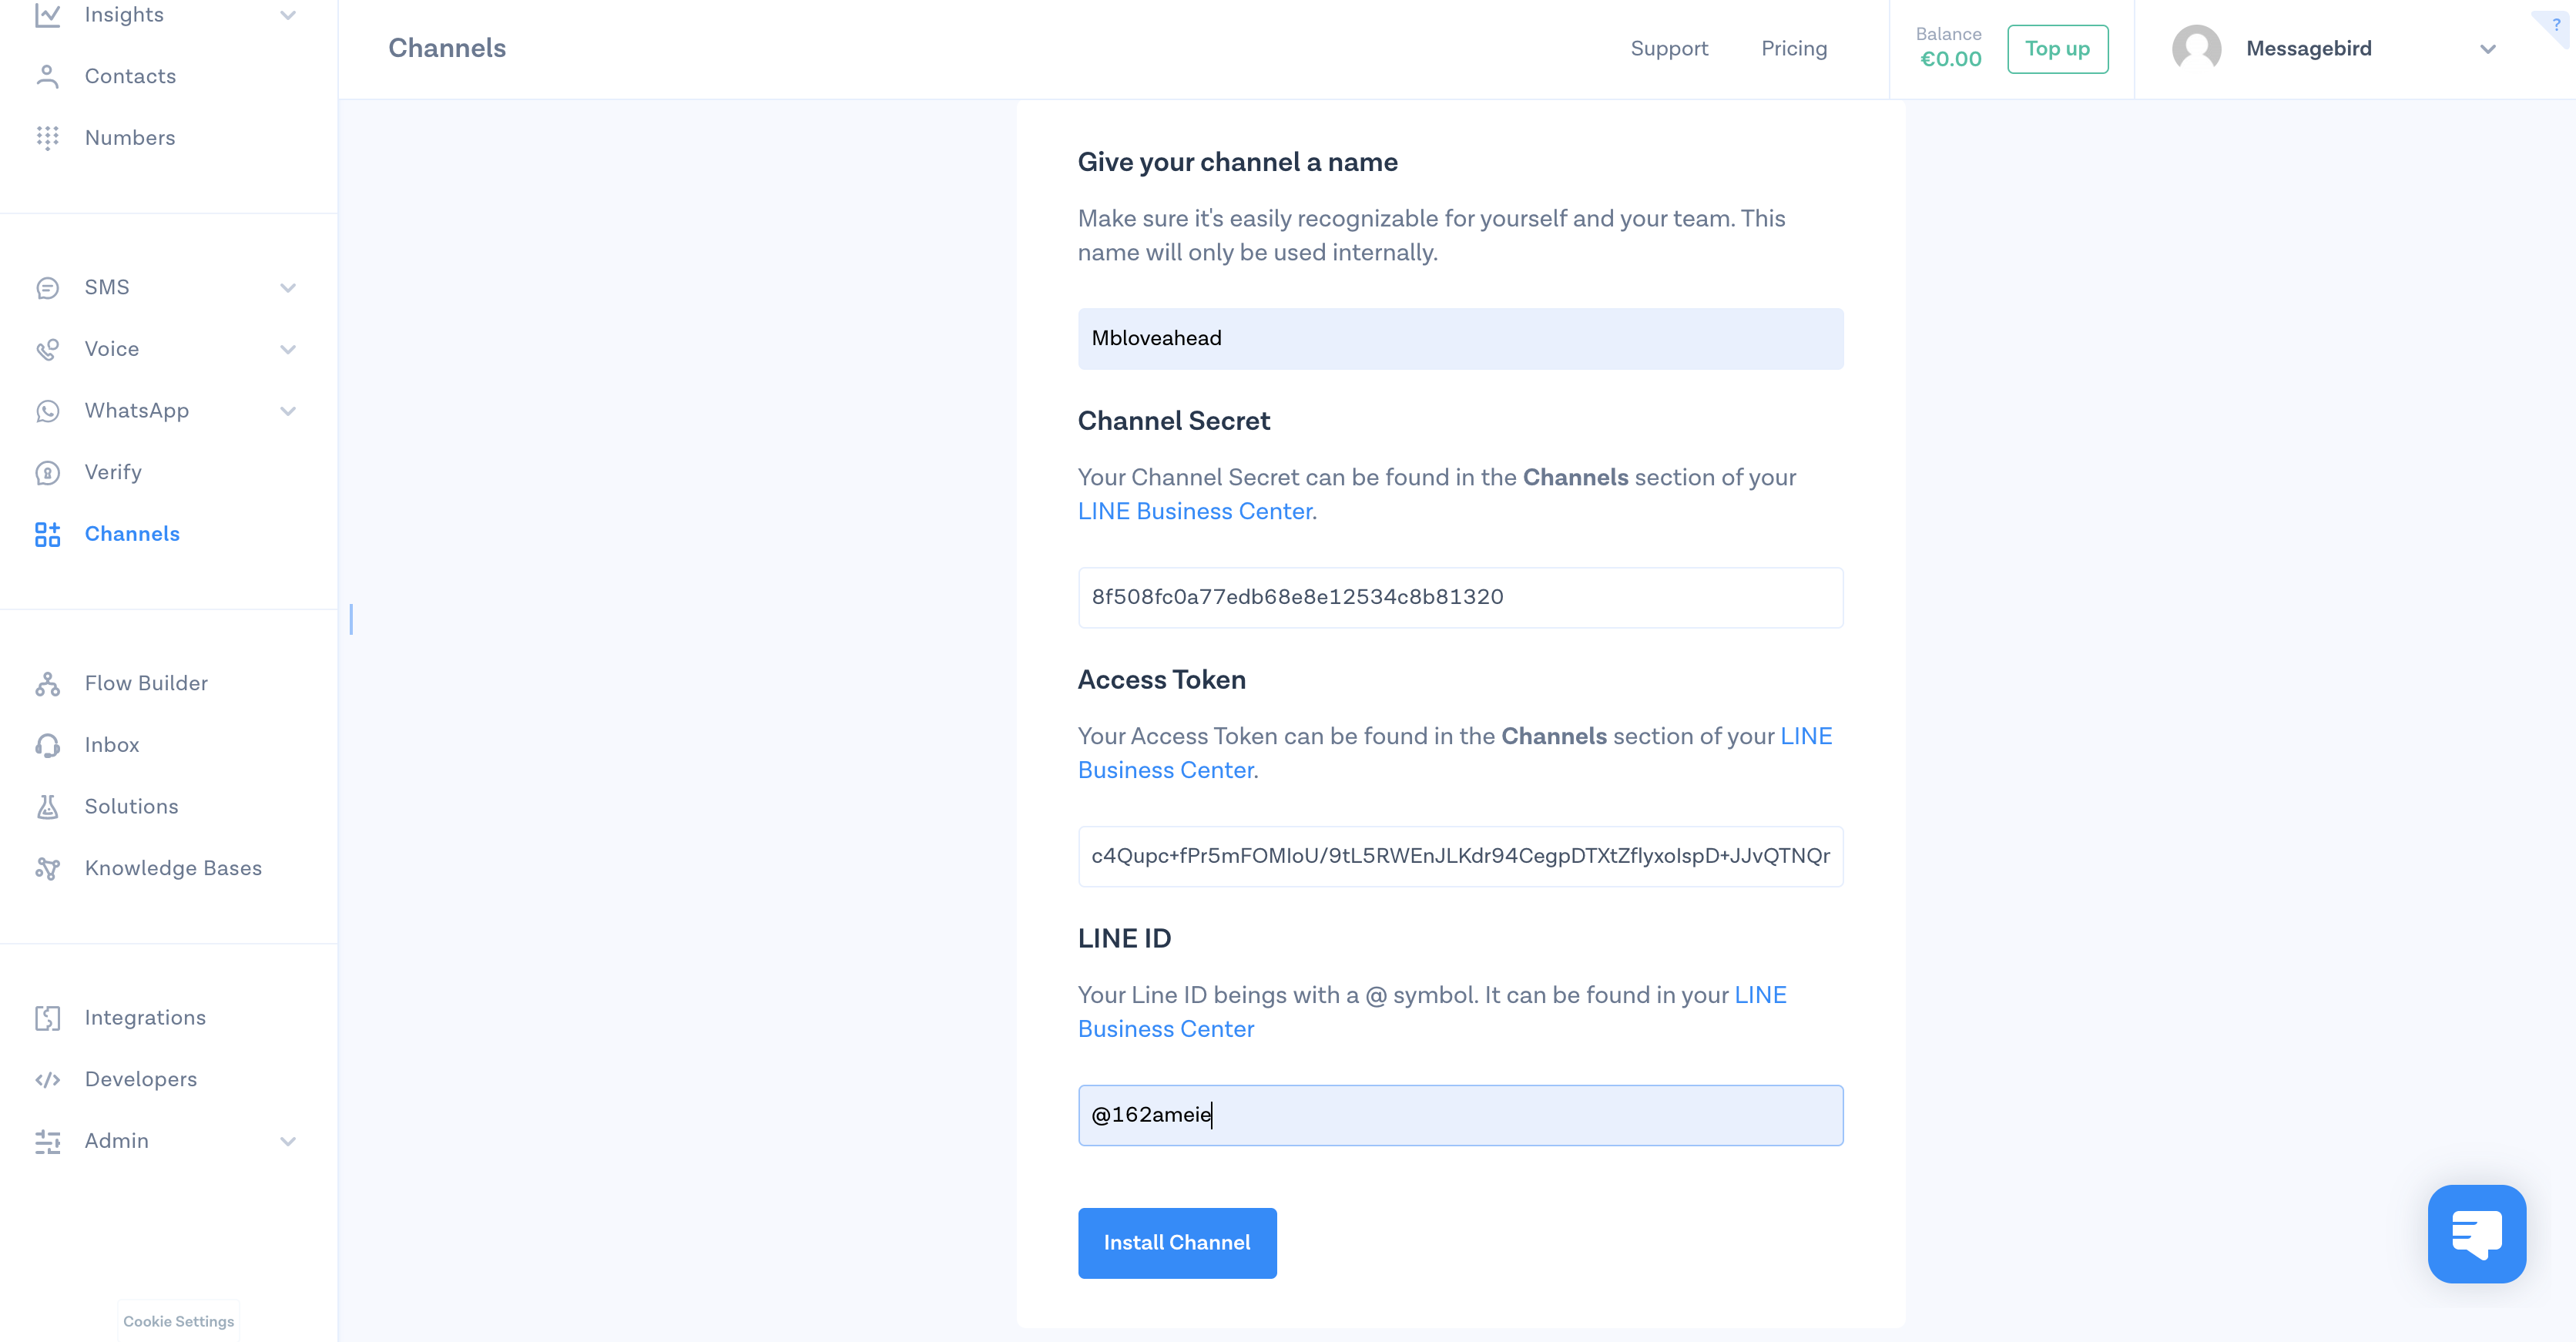
Step 3: Add your channel secret, access token and LineID
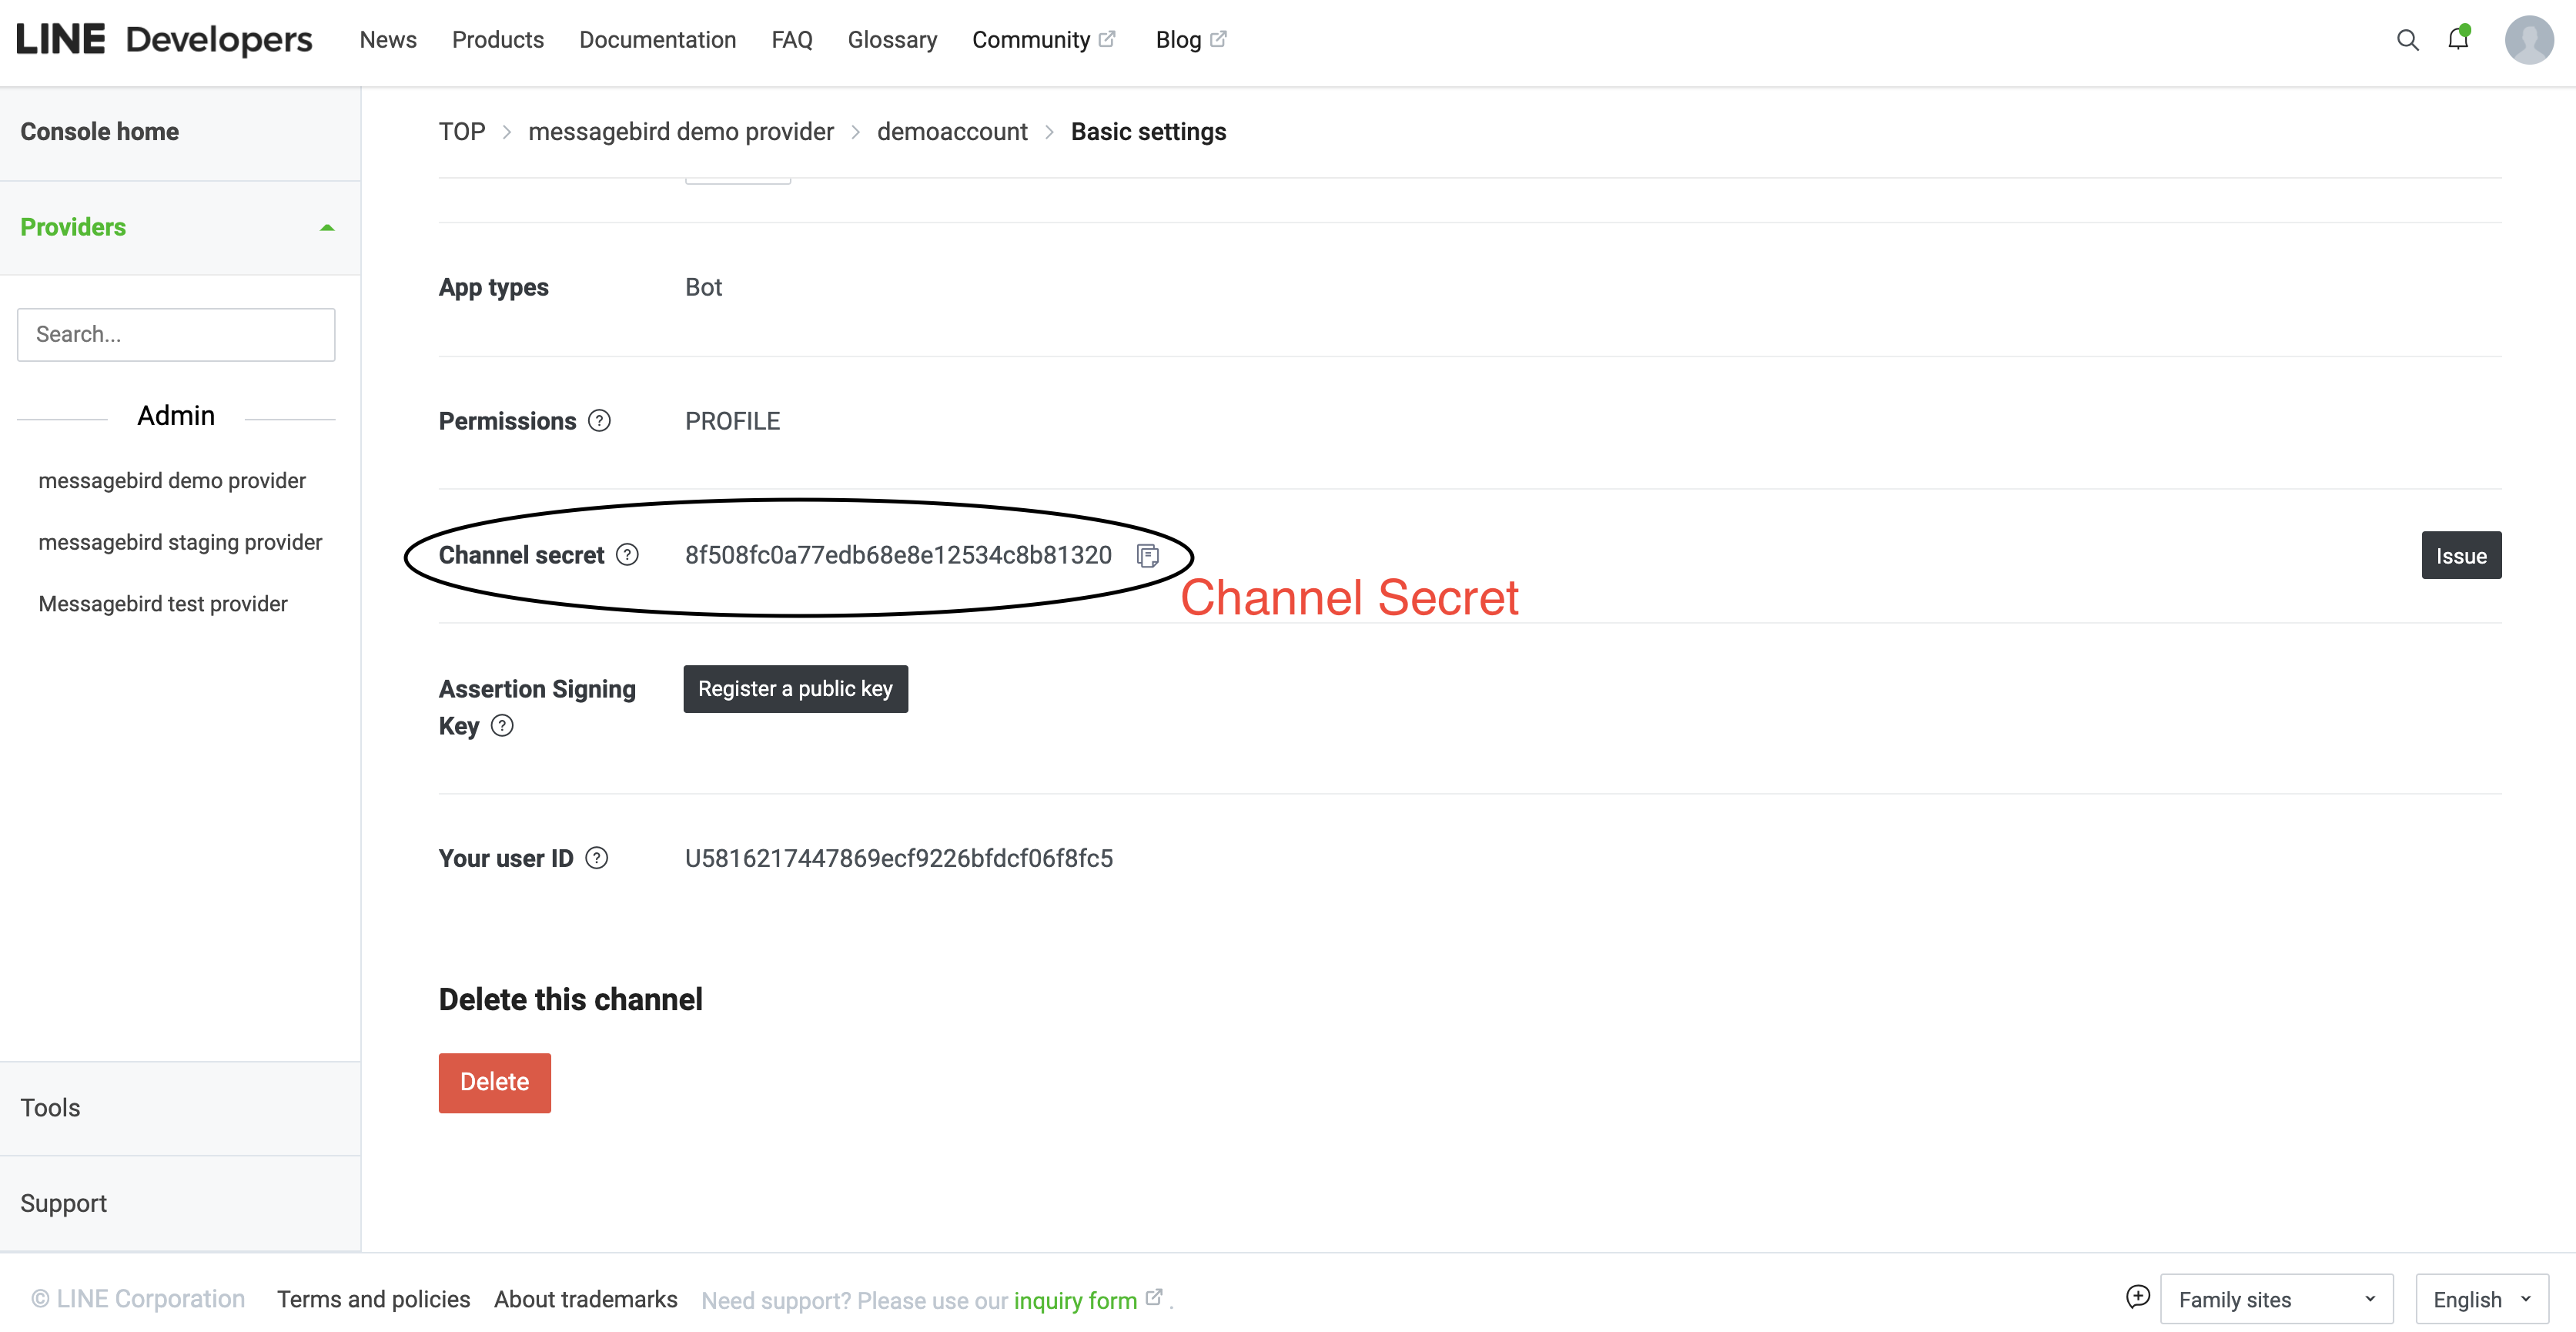
Go to 'Line Console', select the channel that you want to use. Select Basic Settings from tabs, scroll down to Channel secret and copy paste to channel Secret section in MessageBird channel creation page.
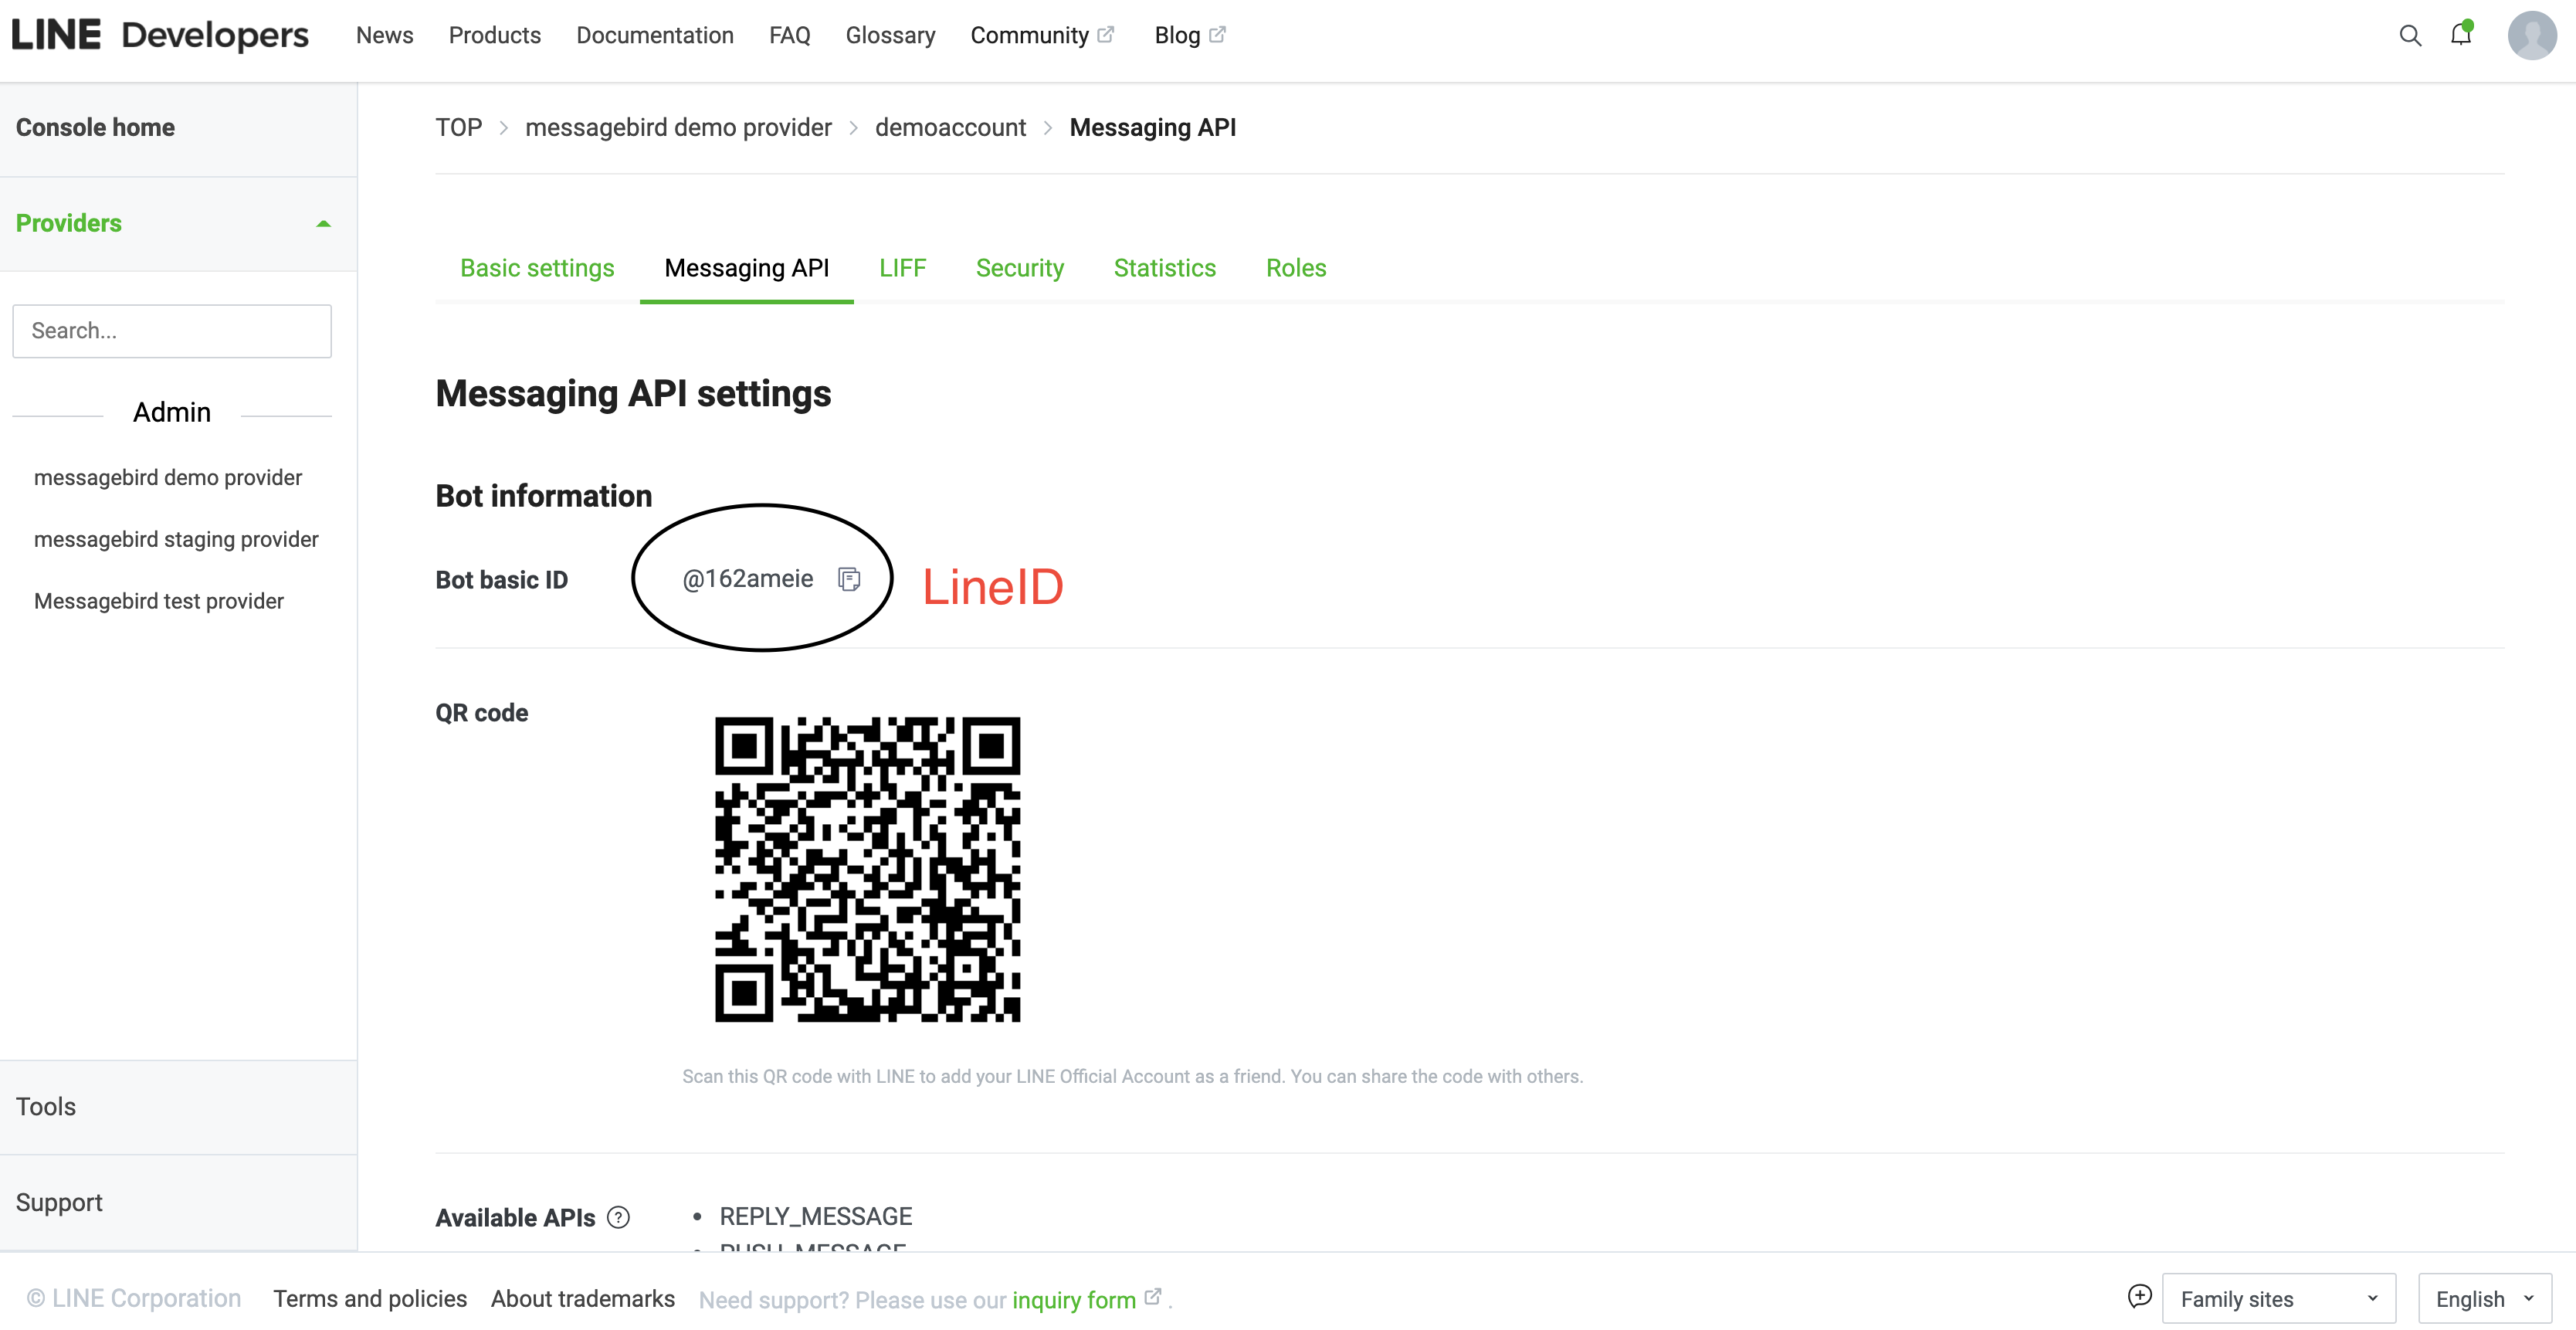
Then, scroll up again to tabs and click on Messaging API. Copy paste the Bot basic ID to LINE ID section in MessageBird channel creation page.
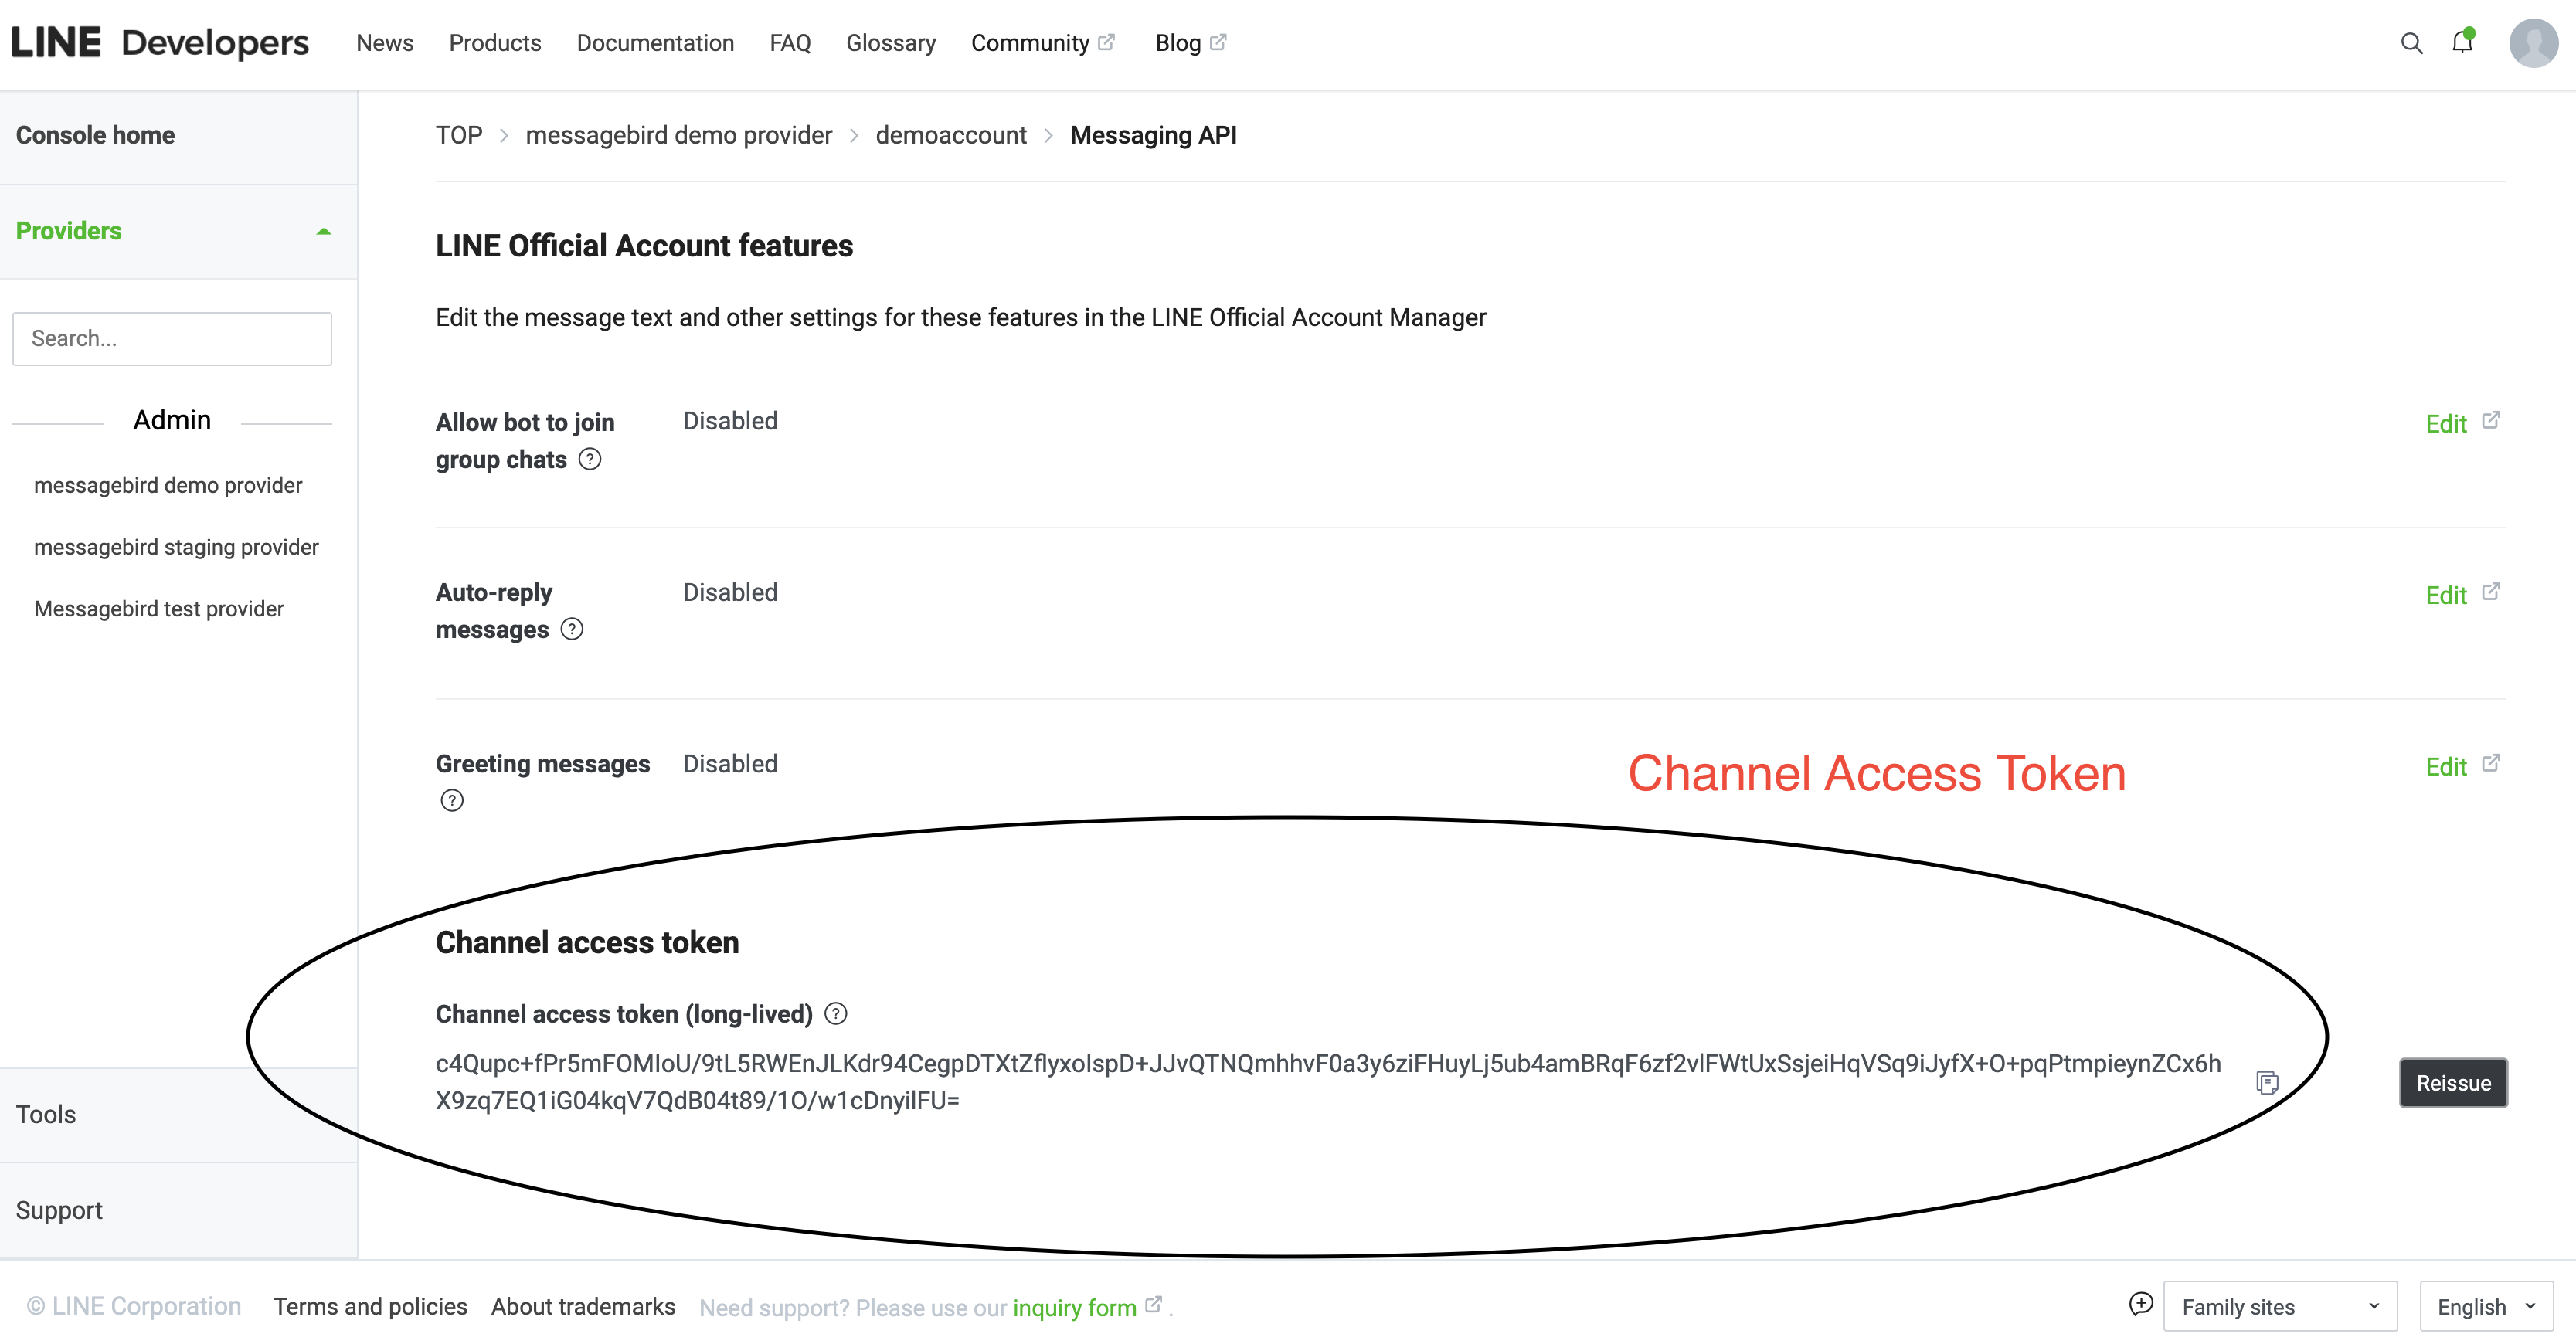
Then, scroll down again to Channel access token in Messaging API tab. Copy paste the Channel access token (long-lived) to Access Token section in MessageBird channel creation page.
Once channel secret, access token and LineID are added, all sections should be filled up.
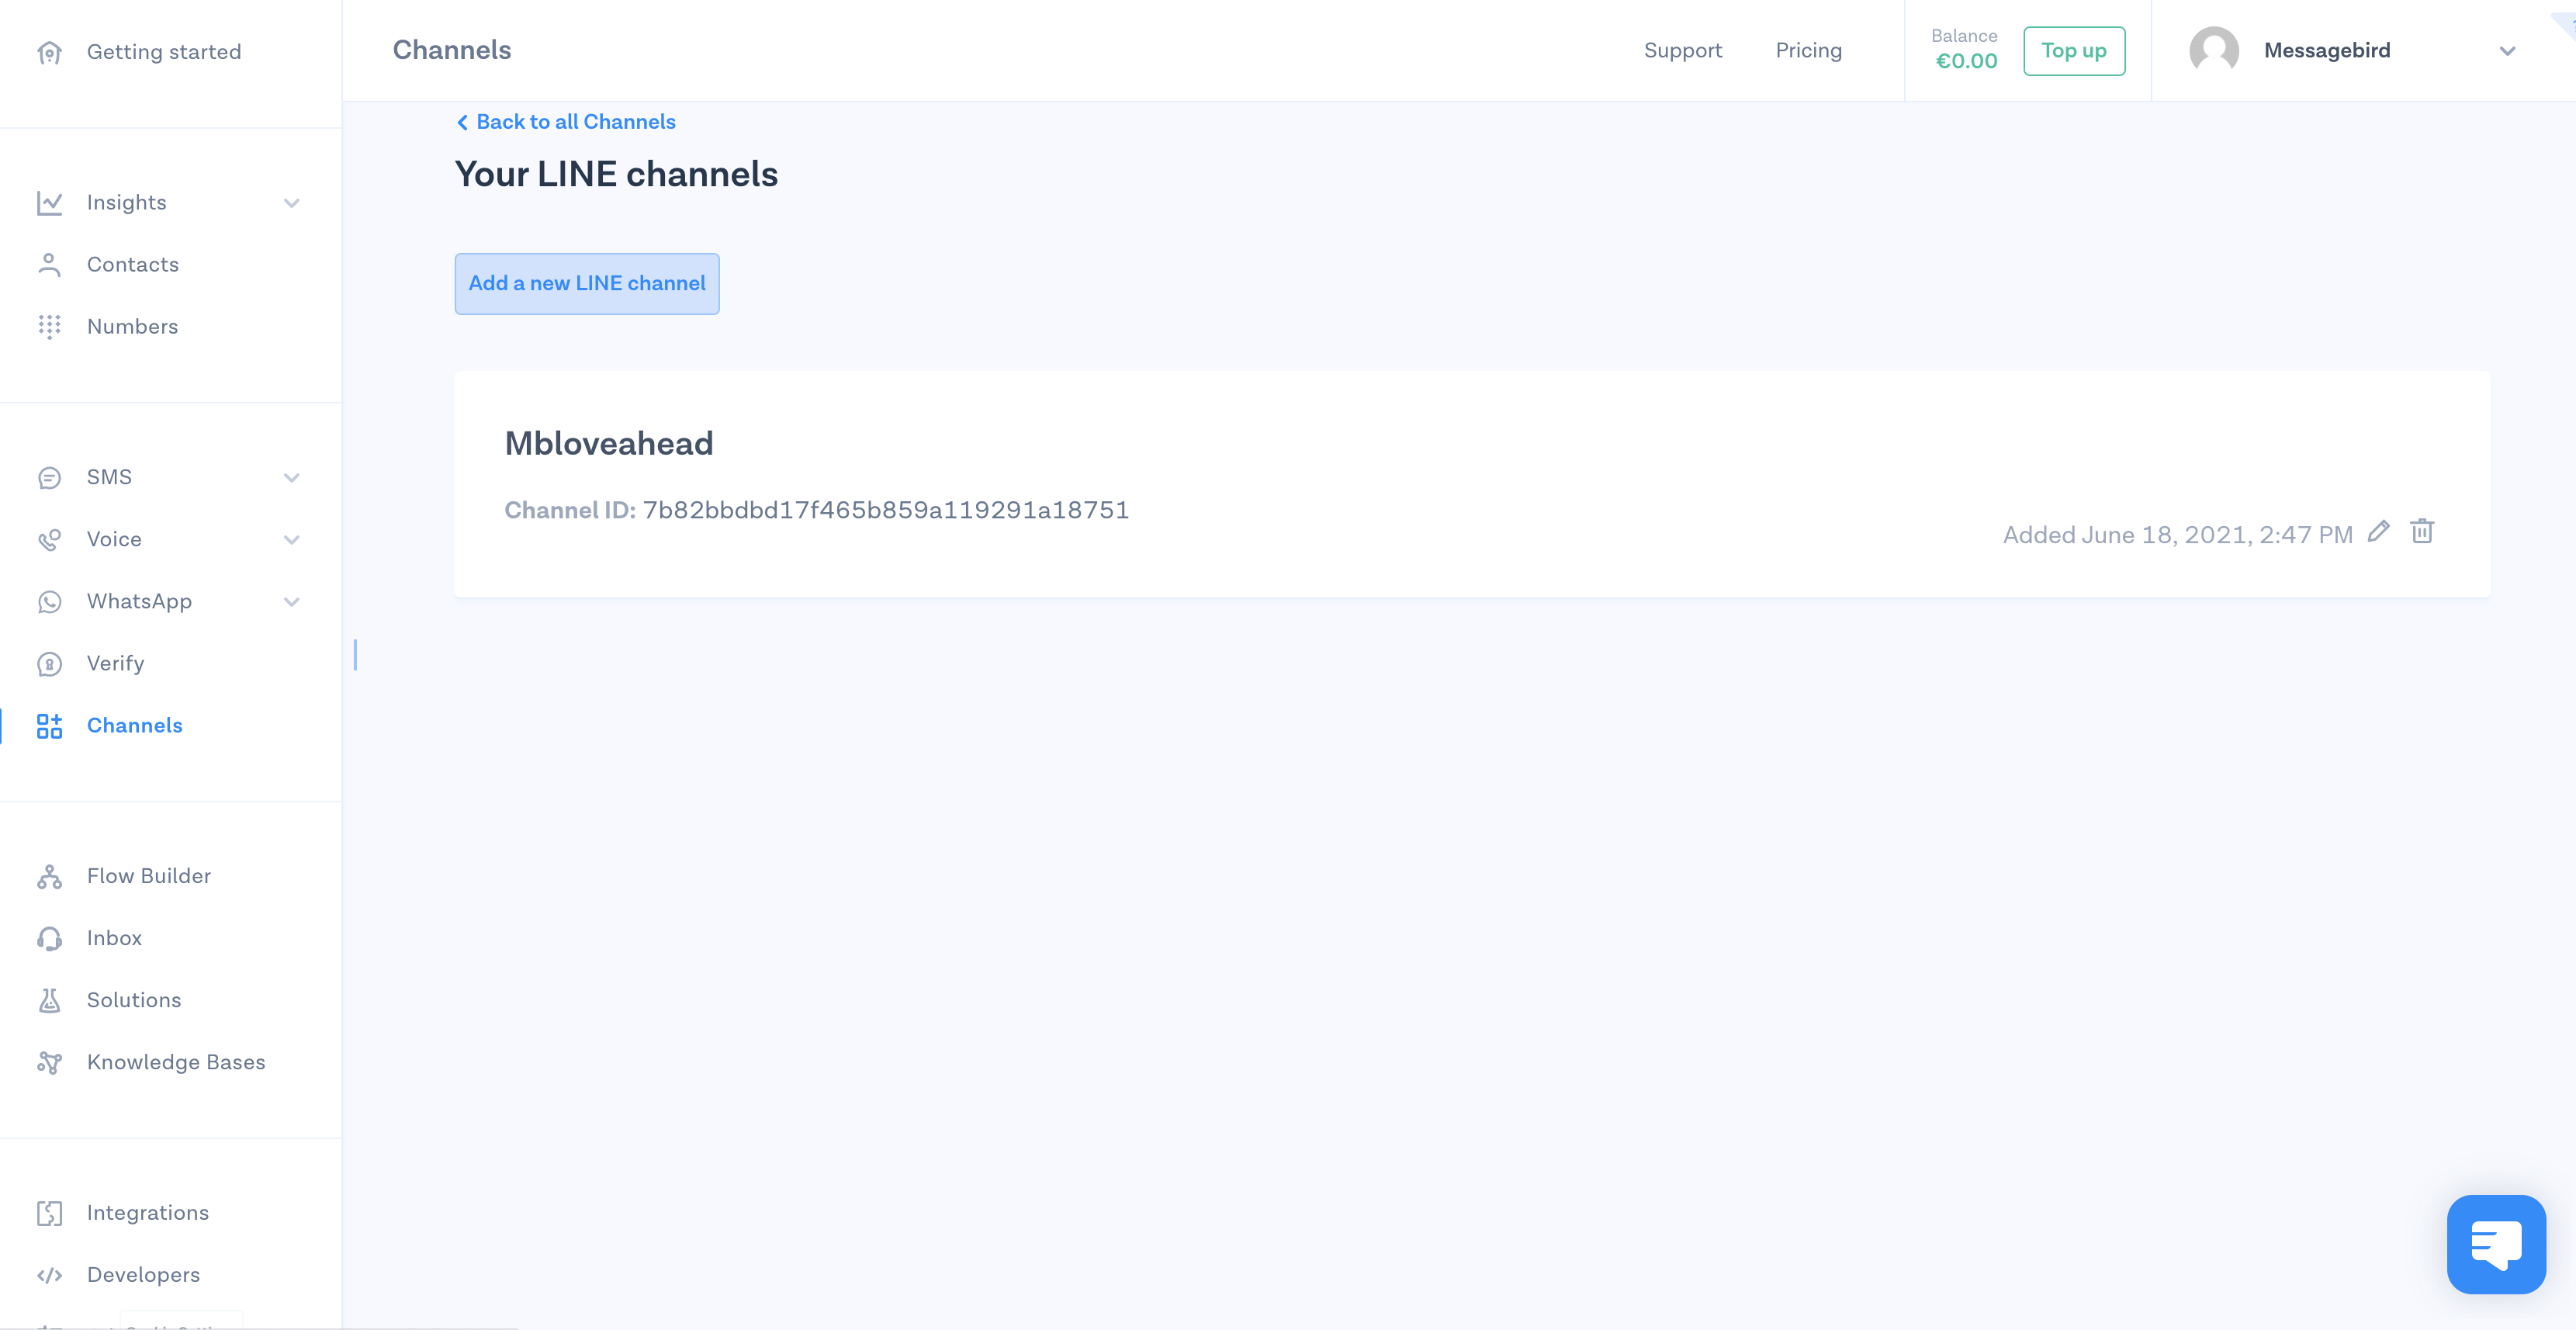
Step 4: Install LINE
Click on 'Install now'! LINE is now installed as a channel.
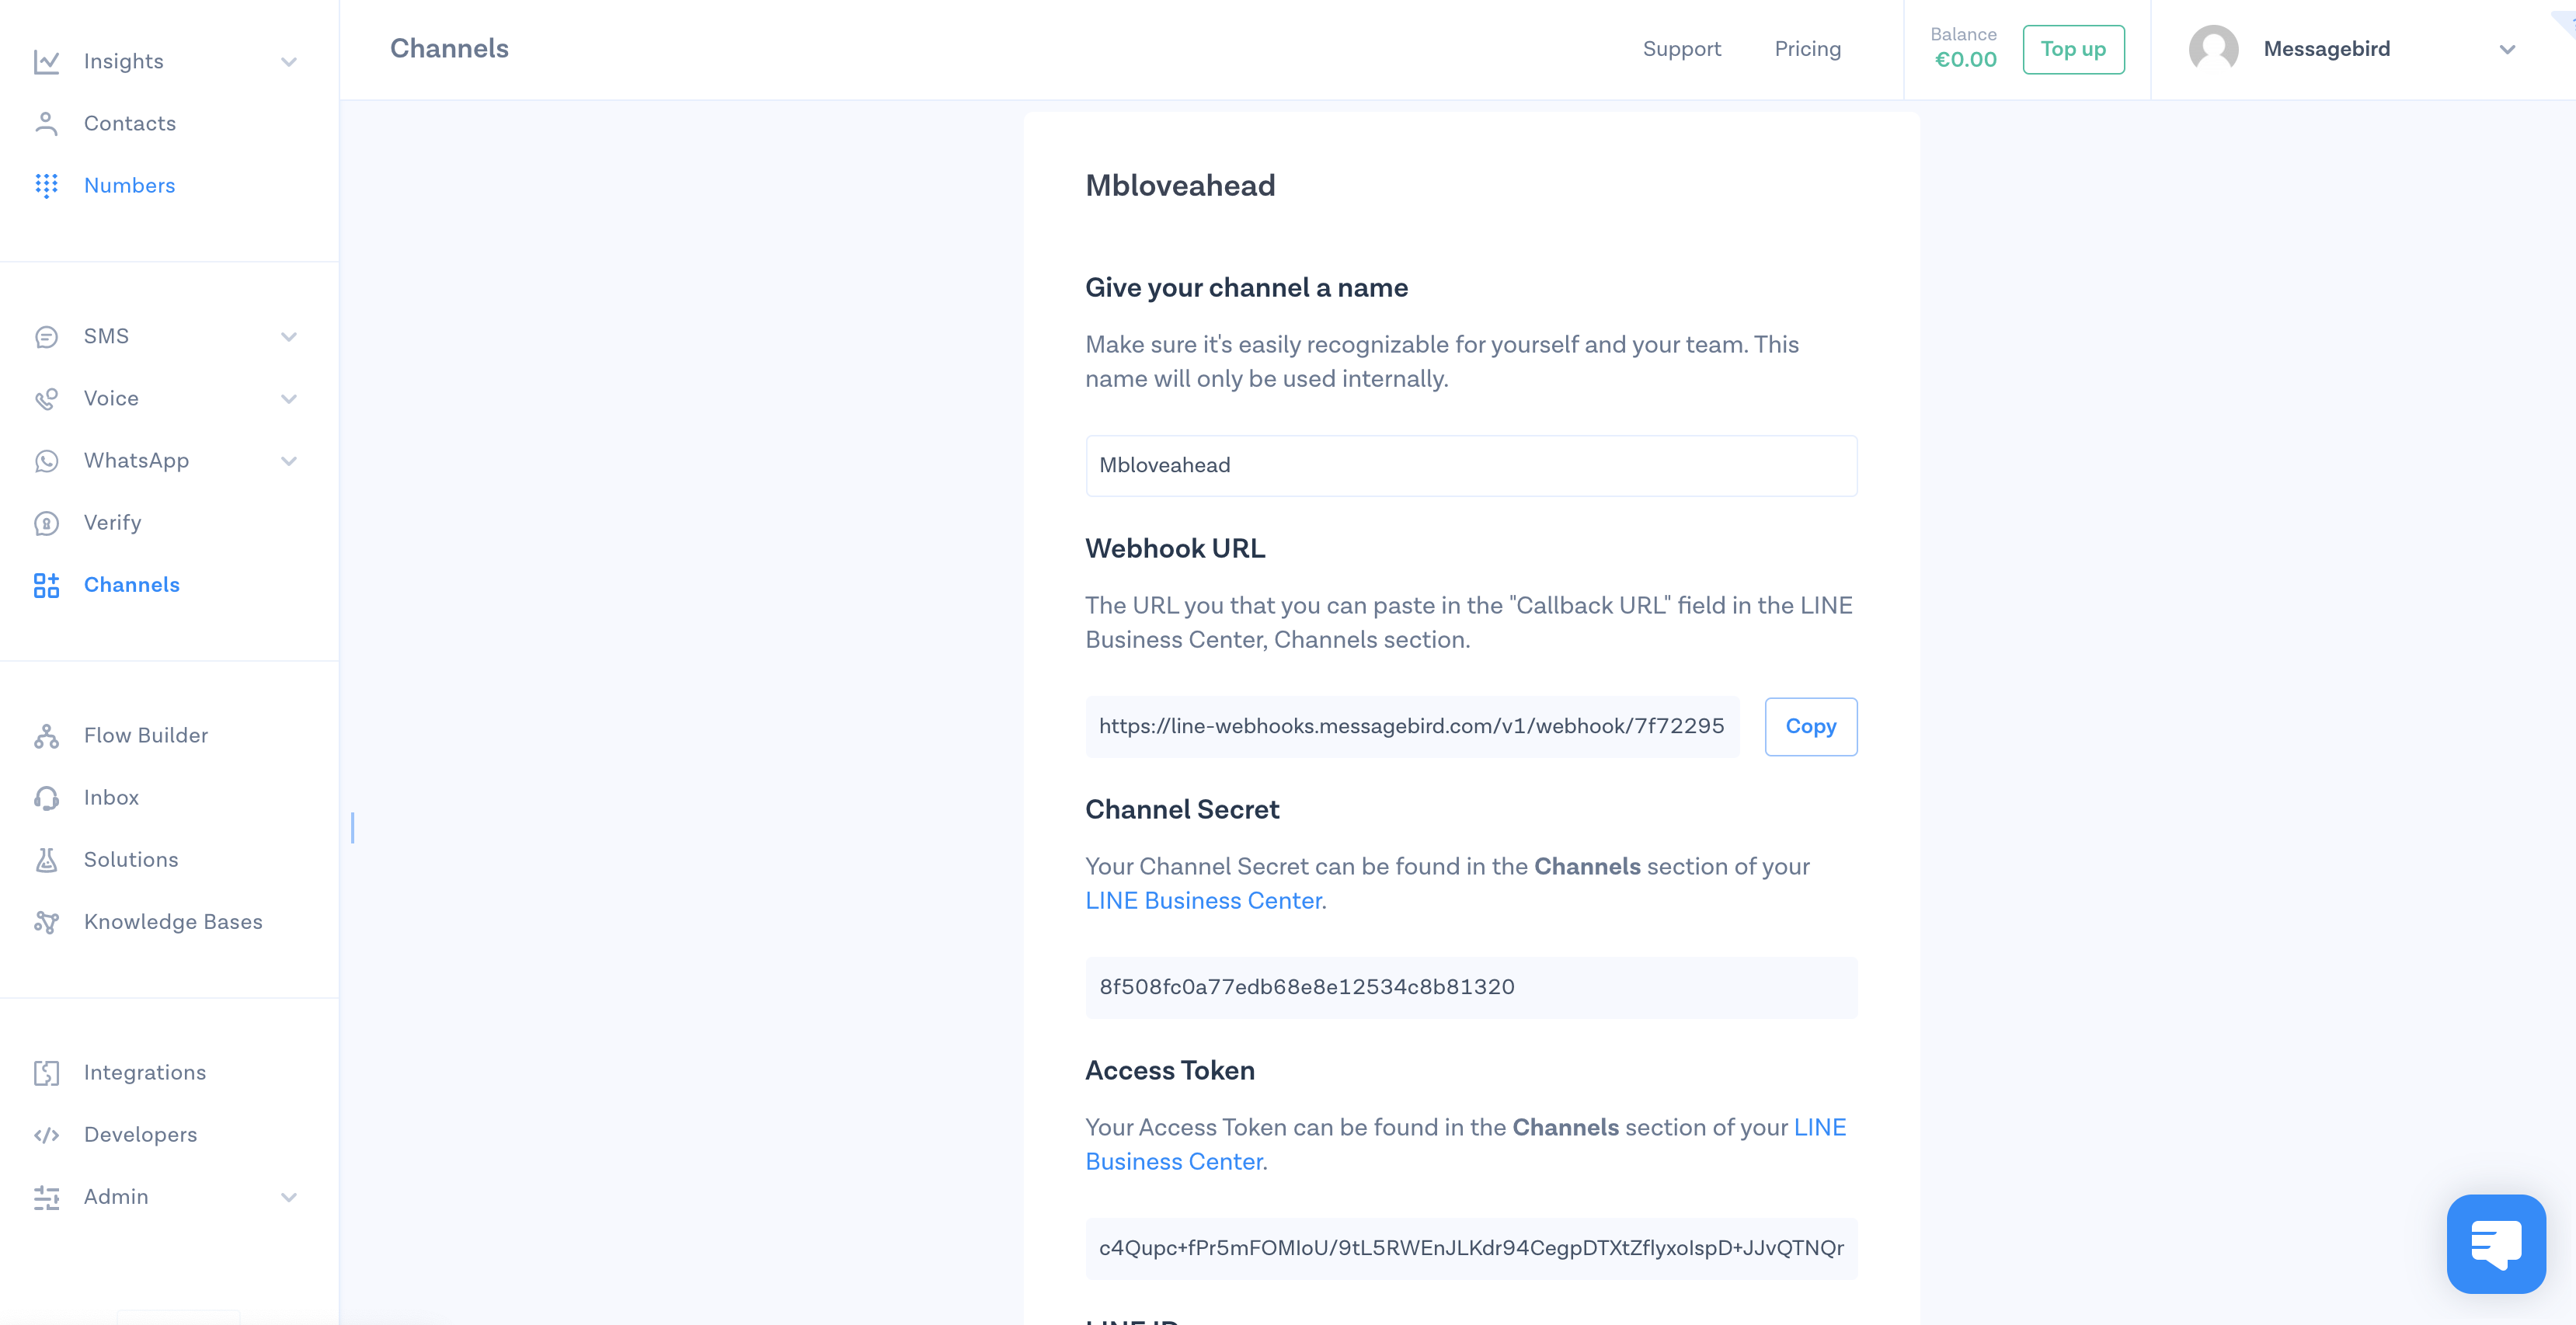
Step 5: Configure Webhook
Click on edit button. Then copy the webhook URL that we provide
Go to 'Line Console', select the channel that you created. Then select the Messaging API tab and scroll down to Webhook Settings. Edit the webhook settings and paste the URL that you had copied and click Update button. Once you set the URL, Verify button should appear. Click Verify button and result should be success
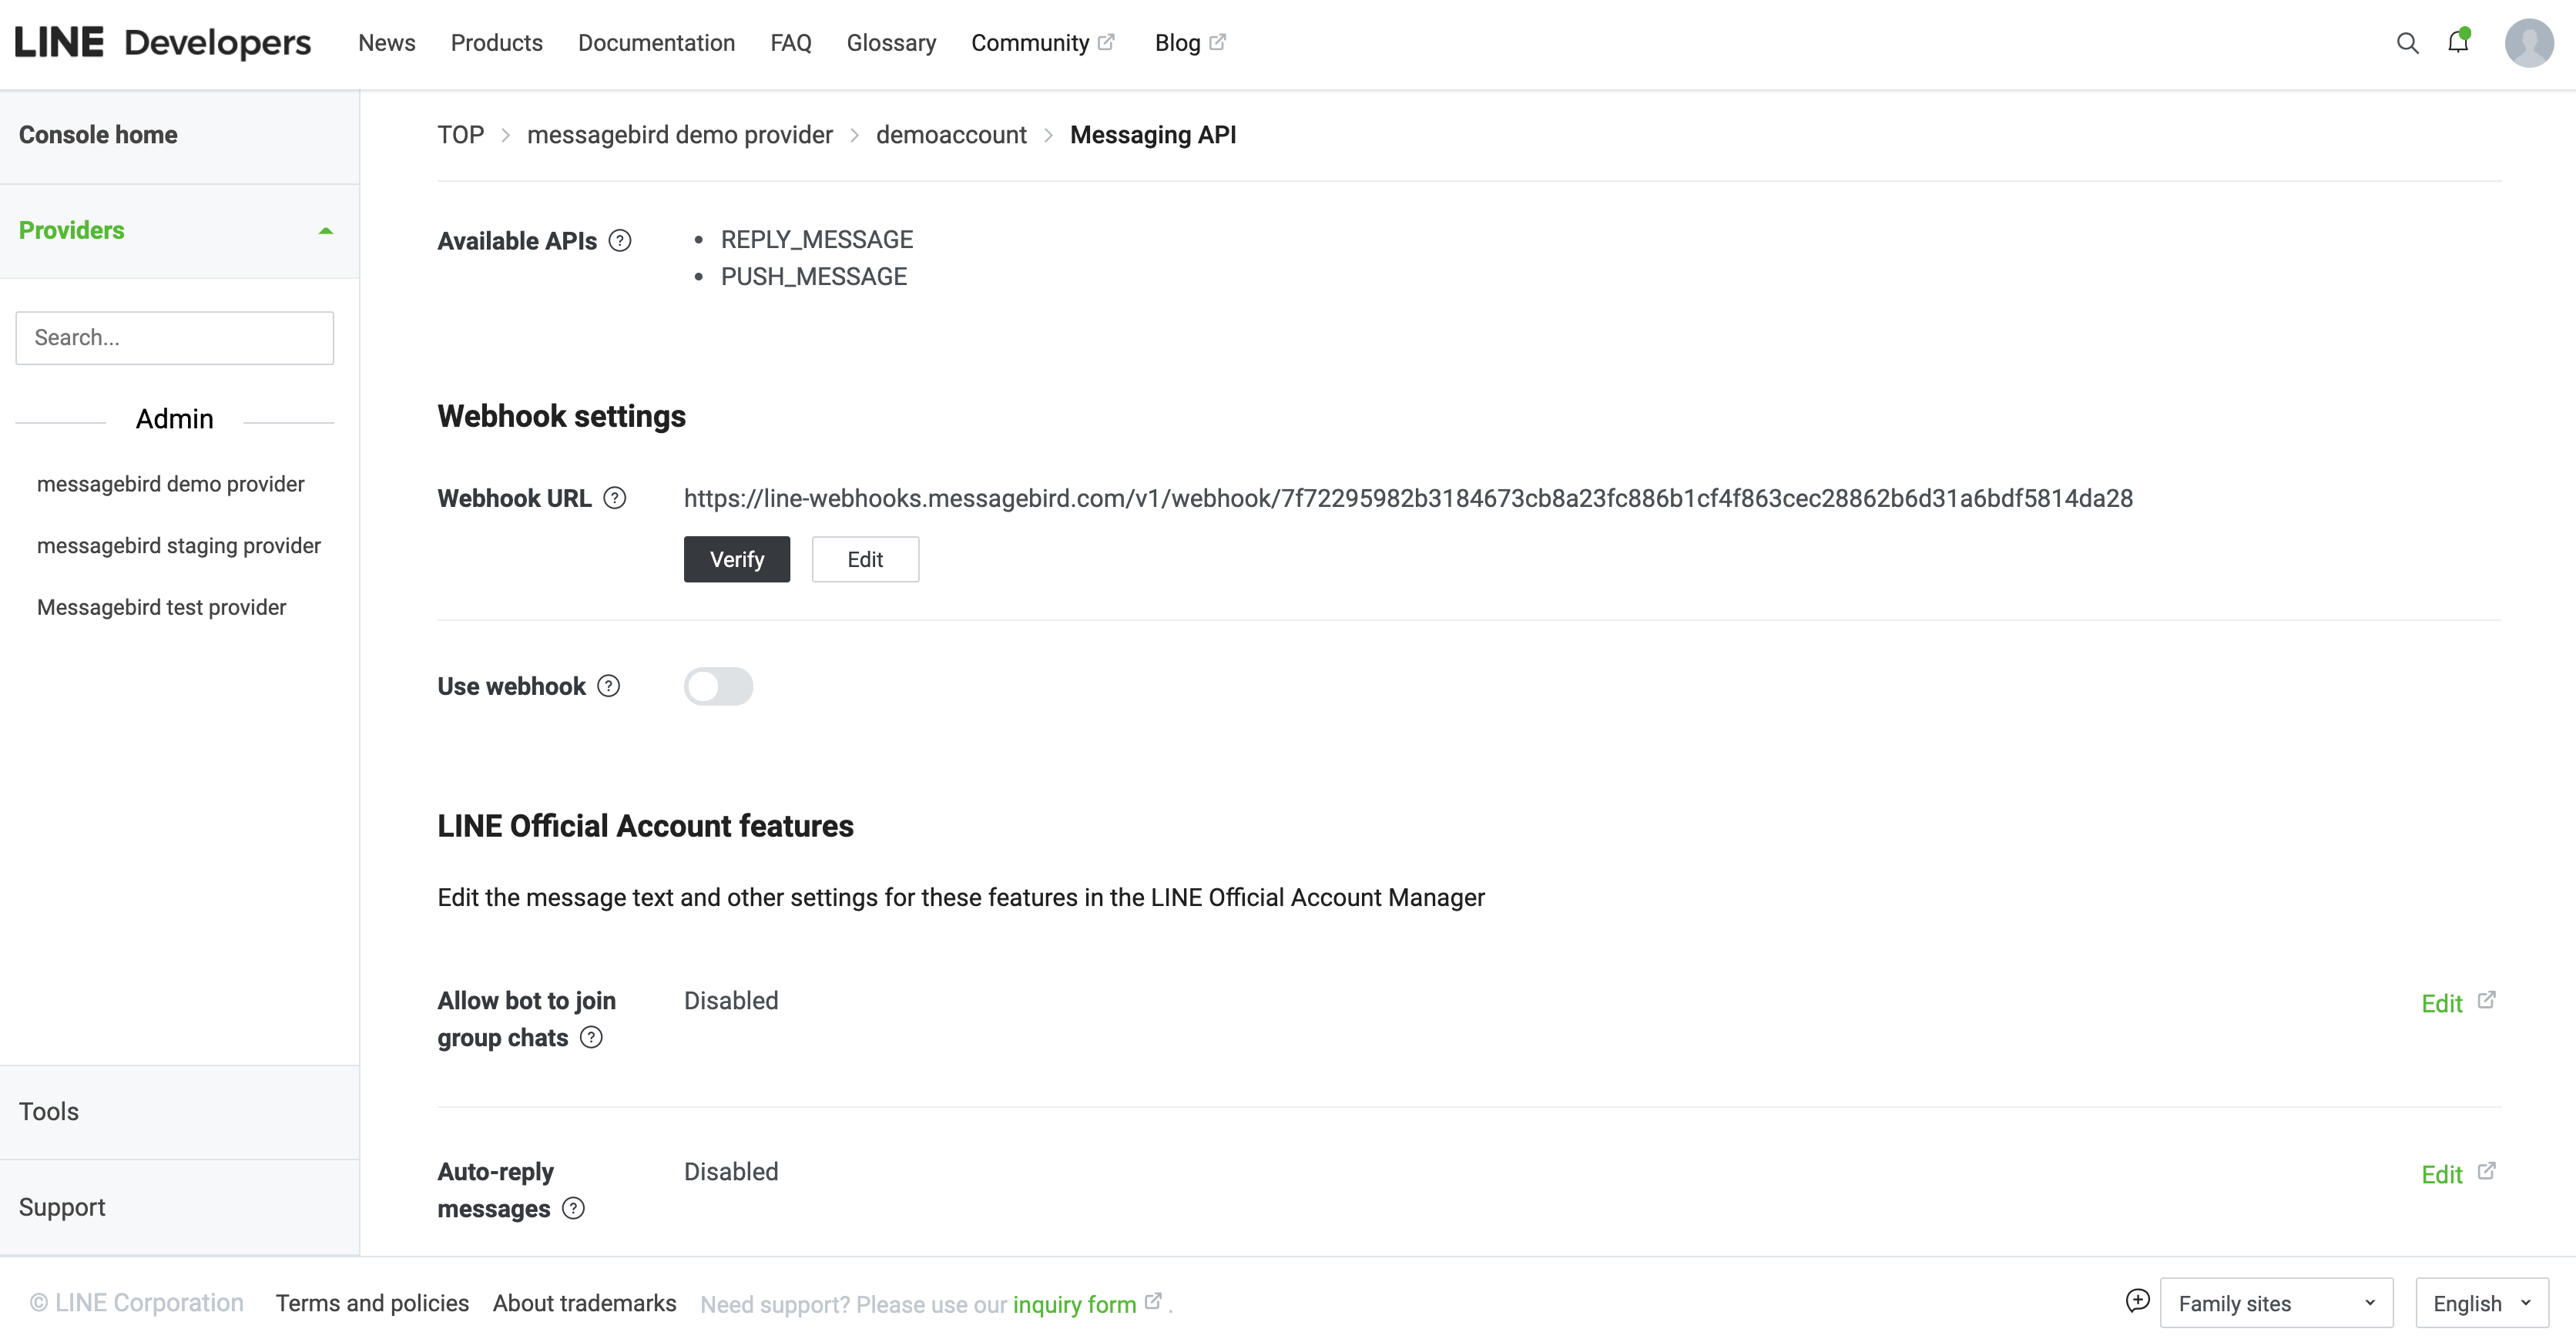 `
`As last step, enable use webhook toggle.
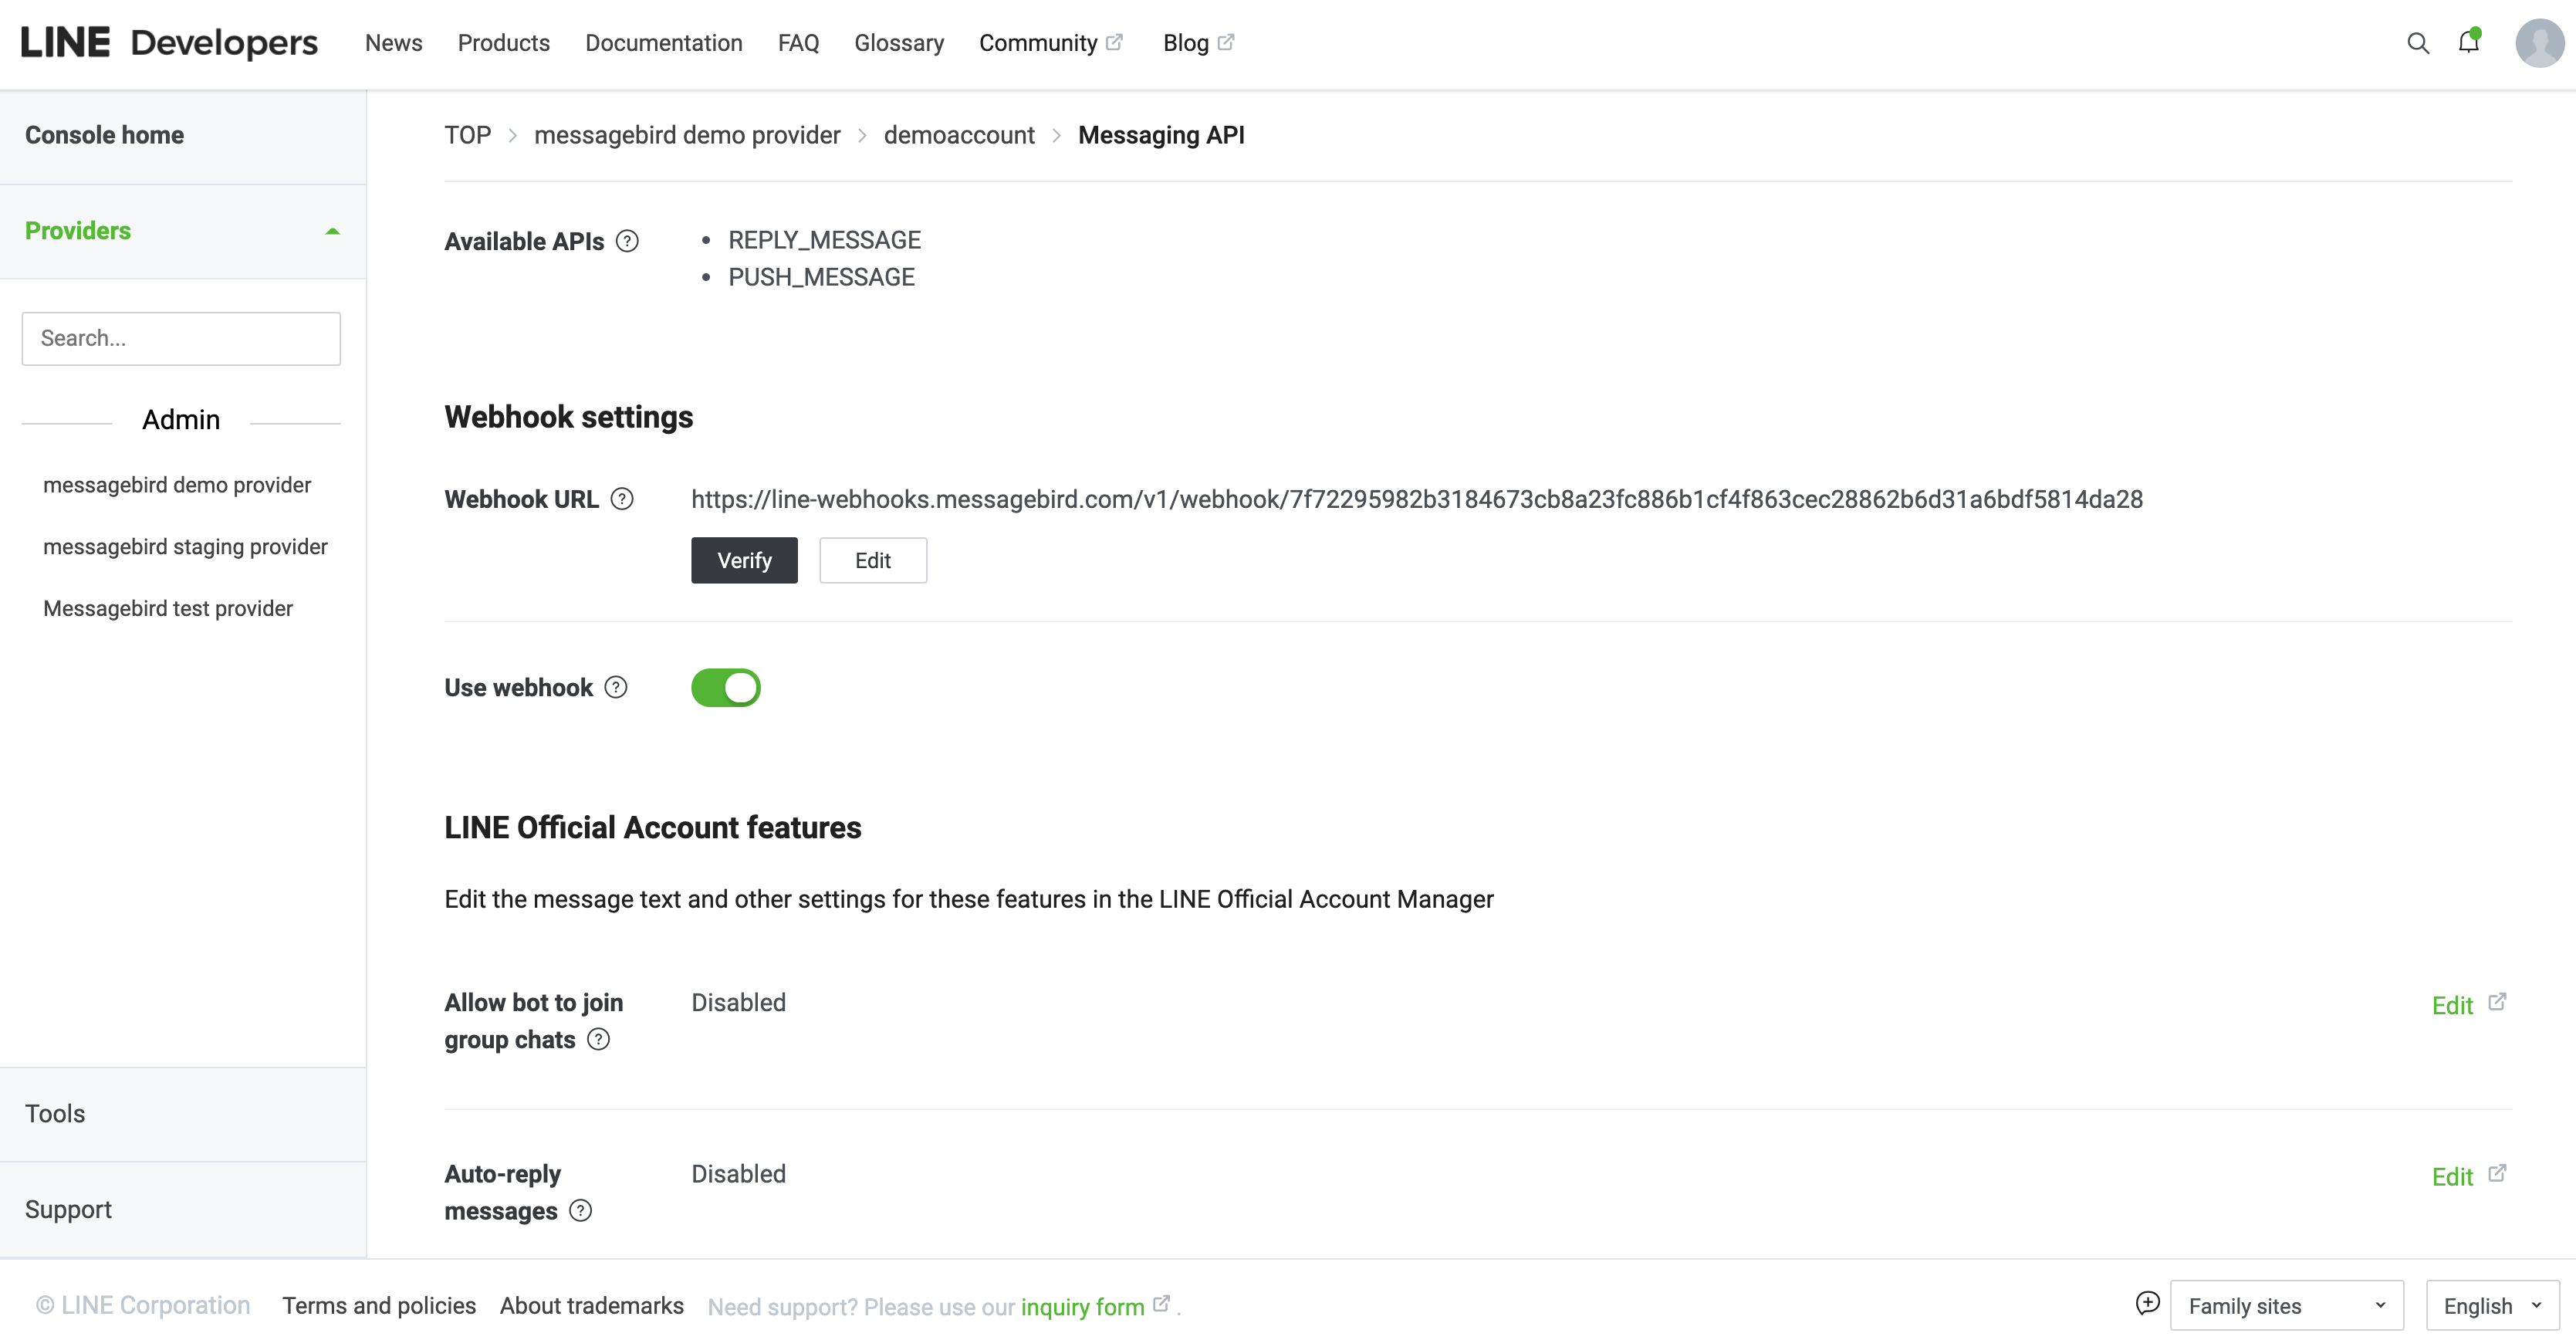 `
`Now, your LINE Channel ready to work!
Step 6: Manage your channel
If you want to edit, rename or delete your channel, simply select the channel and save the changes afterwards.
Nice work! 🎉 You've successfully installed LINE as a channel for the MessageBird Programmable Conversations API.
